Selling online is a big deal now. Whether you’re selling clothes, online courses, or shoes, having an e-commerce site can help to increase sales.
Today’s guide is on how to set up an e-commerce store using Flutterwave’s store feature.
Here’s how to set an E-Commerce store using Flutterwave:
Signing Up/Signing In
If you haven’t already, you need to set up an account on Flutterwave. To pass the compliance as a freelancer/entrepreneur, you just need to submit your ID. You’ll need to submit business documentation if you want to sign up as a business.

After you signed up/signed in, navigate the Flutterwave dashboard menu and select the “Store” option under “Collect Payments”.

In the Store section, navigate to the “Product” menu and add your first product by selecting the “Add Product” button.

After selecting the “Add Product” button, enter your product’s information including the product name, product description, and price. You can also add a product image.

After you entered your product information and saved, it will appear in the “Products” section.

You can preview your online e-commerce store by going to the “Manage Store” option and selecting the “Take Your Store Online” button and selecting the URL close to it.

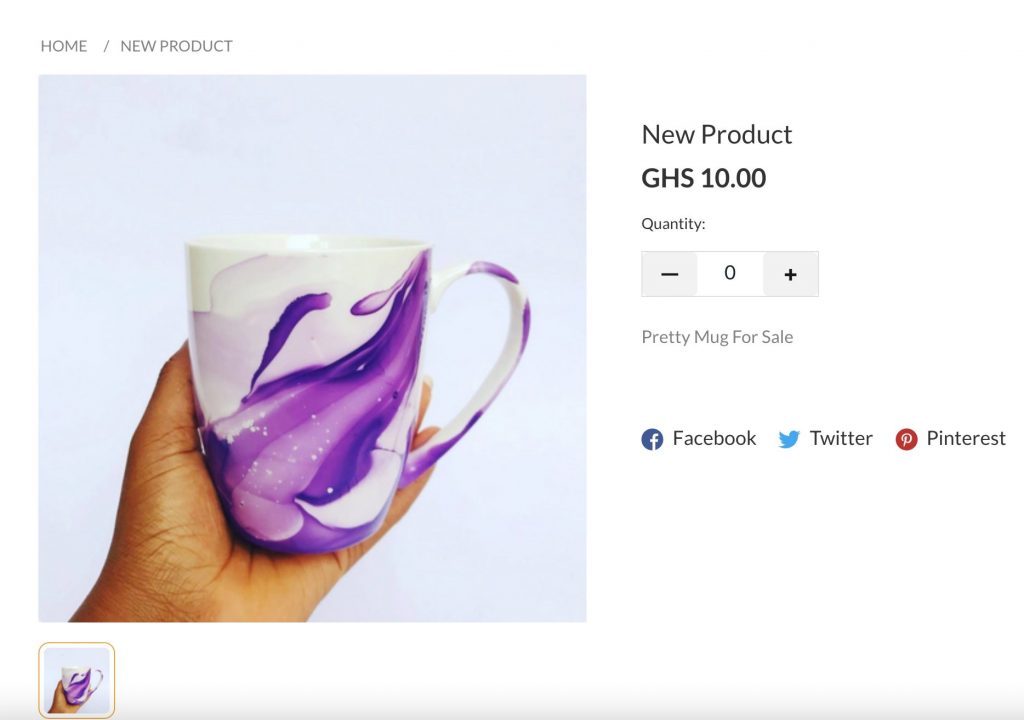
You can select the store URL link to preview the products that you created.

Anyone who comes on your website can select a quantity of the product they want to purchase and check out.

Customers can make payments using Mobile Money, their bank cards, or Flutterwave’s Barter product.

And that’s it! You just set up your e-commerce store online using Flutterwave.


